Hey everyone, I hope you’re having an incredible day today. Today, I’m gonna show you how to make a special dish, how to fold springrolls in 3 simple steps. One of my favorites food recipes. This time, I will make it a little bit tasty. This is gonna smell and look delicious.
How to fold Springrolls in 3 simple steps is one of the most popular of current trending foods in the world. It is enjoyed by millions daily. It is simple, it is fast, it tastes delicious. They are fine and they look fantastic. How to fold Springrolls in 3 simple steps is something that I have loved my entire life.
How to make samosa step by step tutorial for beginners. Vegetable Spring Rolls / Chicken Spring Rolls Recipe by Tiffin Box How To Make Popiah/Spring Roll Wrappers/Skin.
To get started with this particular recipe, we have to prepare a few components. You can have how to fold springrolls in 3 simple steps using 3 ingredients and 7 steps. Here is how you cook that.
The ingredients needed to make How to fold Springrolls in 3 simple steps:
- Take Springrolls wraps
- Prepare Filling (either meat or vegetables)
- Prepare Edible Glue
This is for those that want to learn how to roll up a spring roll. Hope it comes in useful for someone! 🙂. Spring roll is made with ingredients of universal appeal, which is perfect as the starter or as Step-by-step instruction on how to make crispy and delicious spring rolls. Fold the left and right corner to the center.
Instructions to make How to fold Springrolls in 3 simple steps:
- For the Edible Glue, in a small bowl add flour, about 2 tbspn. Then add little water, mix to form a paste. Not too thick not too thin.The other picture is how my springroll wraps or sheets look like.
- For the filling Cut the vegetables thinly, the more tender the vegetables are the more crisp and light the spring rolls are. - - Cook the filling until it is as dry as you can make it. A wet filling will make for a soggy spring roll. - - Do not add hot filling to spring roll wrapper. The wrapper is so thin it will become soggy quickly.
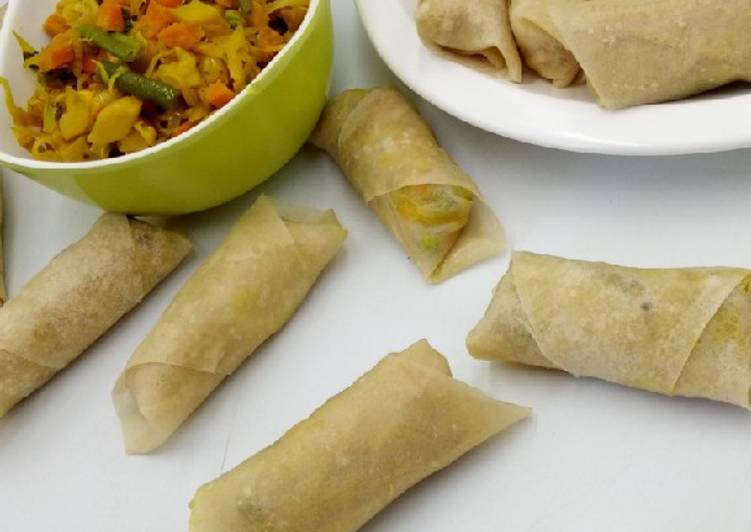
- Step one, spread your springrolls sheet / wrap on a flat surface. Then add your filling as shown in the picture. Then With your finger or spoon or brush, add the glue and spread it nicely at the tip of the wrap / sheet.
- Step two, now roll your sheet once, then take one edge and flip it over as shown in the picture. Then take the other edge as well and nicely flip it.
- Step three, roll it nicely over to the tip.Wrap the spring rolls tightly and add a bit of the glue to the edges to seal them after wrapping. - - You can freeze some and cook them whenever you feel like, or you can send to your friends and let them taste the goodness of your hands ❤️
- The picture below is after I had fried and placed them nicely in a box with some Kebabs and sent over to a friends Launch Party.
- Important note - Do not overfill the rolls, I use about two tablespoons of filling and this keeps them thin enough to fry well even from frozen. - - Freeze the filled rolls in a single layer until frozen so they don’t stick together. This will prevent the seal from breaking when you try to fry them individually.
Place a dollop of cornstarch slurry or egg liquid on. Step-by-Step Technique to Make Your Own Spring Rolls. Spring rolls can be fresh (as pictured) or fried. Spring rolls are nowhere near as difficult to make as they look (some recipes If you want clear instructions on how to store spring rolls in the freezer, check out this Roll up halfway, then fold the sides and continue rolling. Spring Rolls are the vegetarian super light, crispy and tender vegetarian appetizer cousin of Freeze the filled rolls in a single layer until frozen so they don't stick together.
So that is going to wrap it up with this special food how to fold springrolls in 3 simple steps recipe. Thanks so much for reading. I’m sure that you can make this at home. There’s gonna be interesting food at home recipes coming up. Don’t forget to save this page on your browser, and share it to your loved ones, colleague and friends. Thank you for reading. Go on get cooking!